
Replace the can and make your own tender savory Perfect Instant Pot Black Beans! These are no soak, which makes them much quicker and you don’t have to worry about starting them the night before.
The instant pot has changed cooking. I love it! It can make so many foods so much easier to cook from Hard Boiled Eggs, to Perfect Rice to Roasted Chicken.
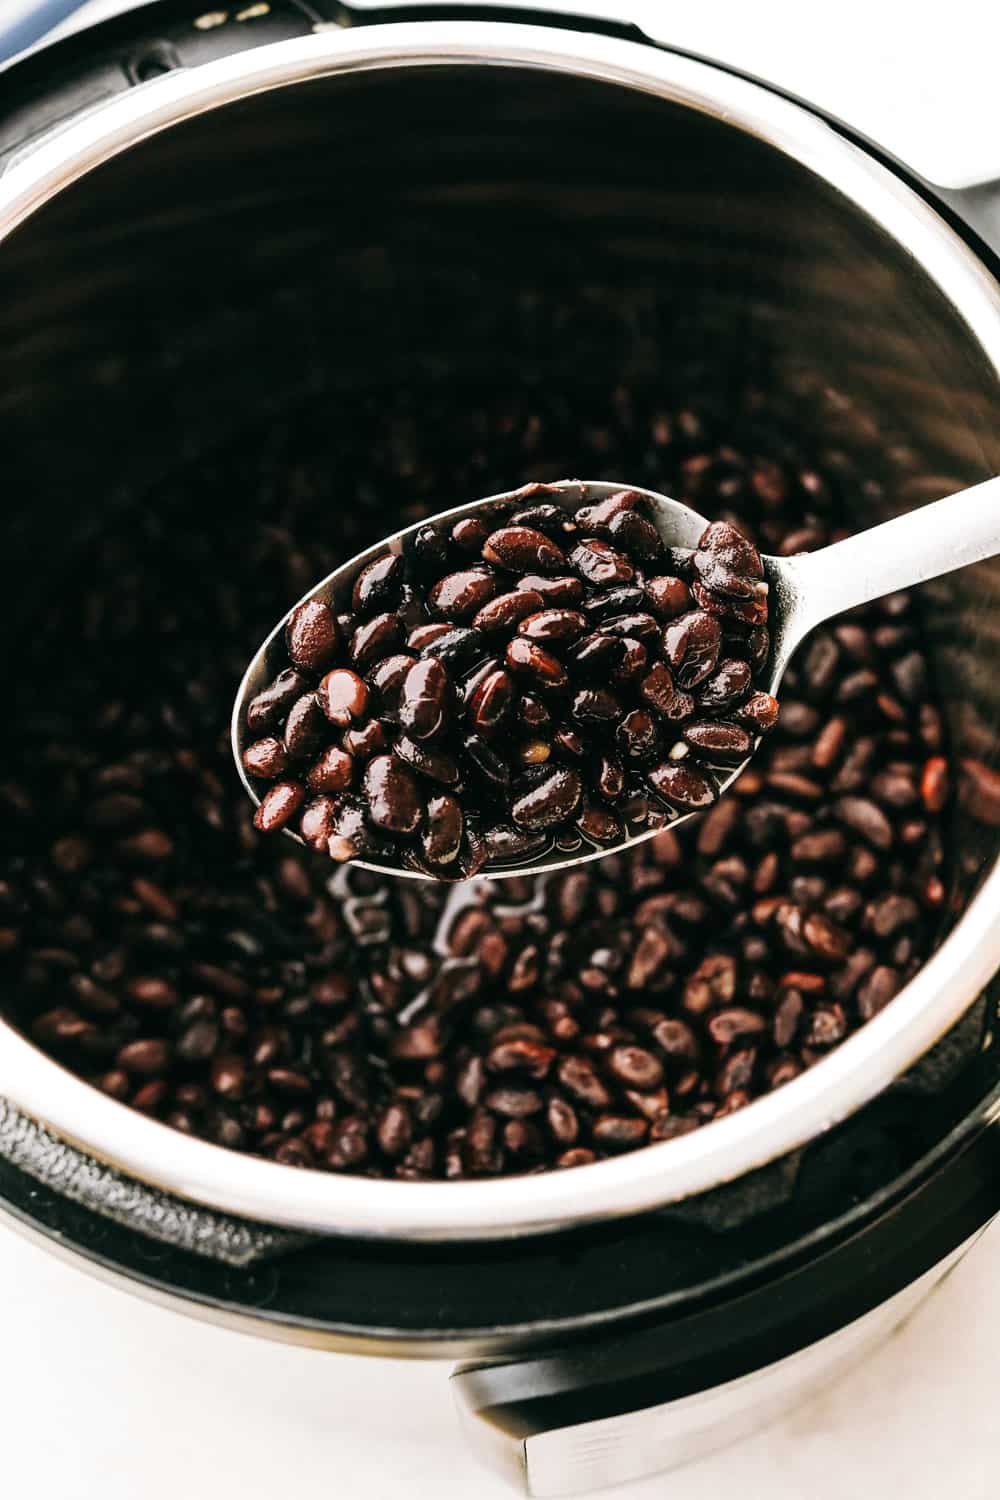
Instant Pot Black Beans
This really takes no effort at all. The instant pot does all the work and the result is worth it. These taste so much better than the canned version and give an extra fresh flair to what ever you use them in. It’s always a good thing when you know exactly what’s in your food and nothing gets better than doing something yourself.
The instant pot really is the awesome! Life is busy and it’s hard to take the time to cook your own beans when you have to presoak them. But with the Instant Pot you don’t have to presoak. You can put them in dry and they come out tender, tasty and have the best texture.
Black Bean Ingredients
Two simple ingredients, but so much better than the can! These are so good, and you can customize the flavor to your liking. The instant pot makes cooking beans so easy, you’ll love it!
- Black Beans: Dried black beans, not from a can.
- Vegetable Stock or Water: The Vegetable Stock will add flavor, so if you don’t want extra added flavor use water.
- Optional Seasonings: Add these or other spices if you have a recipe in mind. Salt, Garlic, Cumin, Paprika and Cilantro.
Making Perfect Black Beans
Just a couple of steps to make perfect beans!
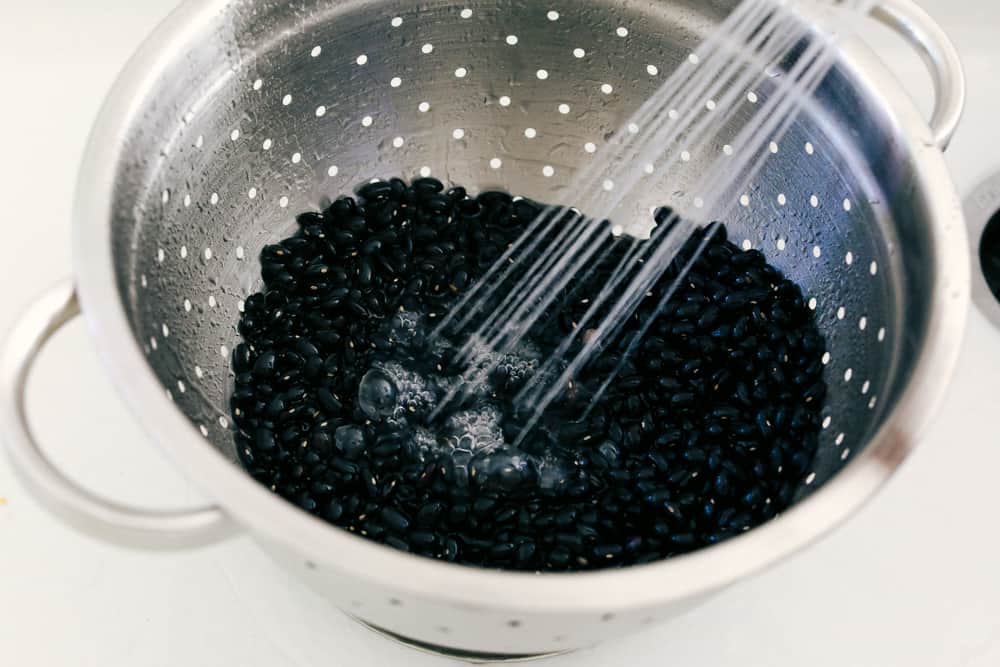
- Rinse: Rinse the dry beans and pick out any bad ones.
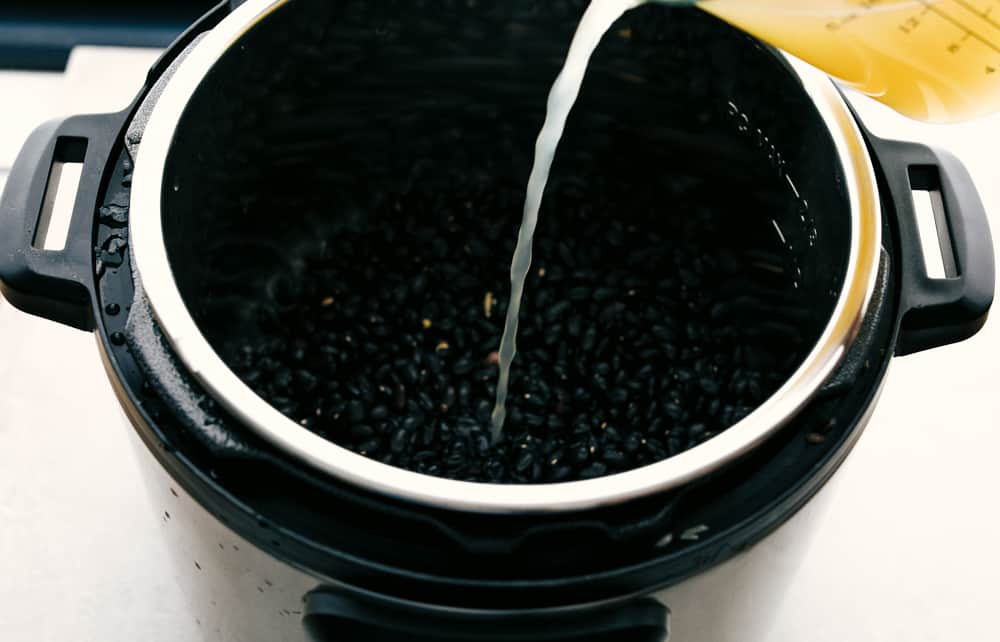
- Instant Pot: Place the beans in the pot, add the liquid if desire the optional spices.
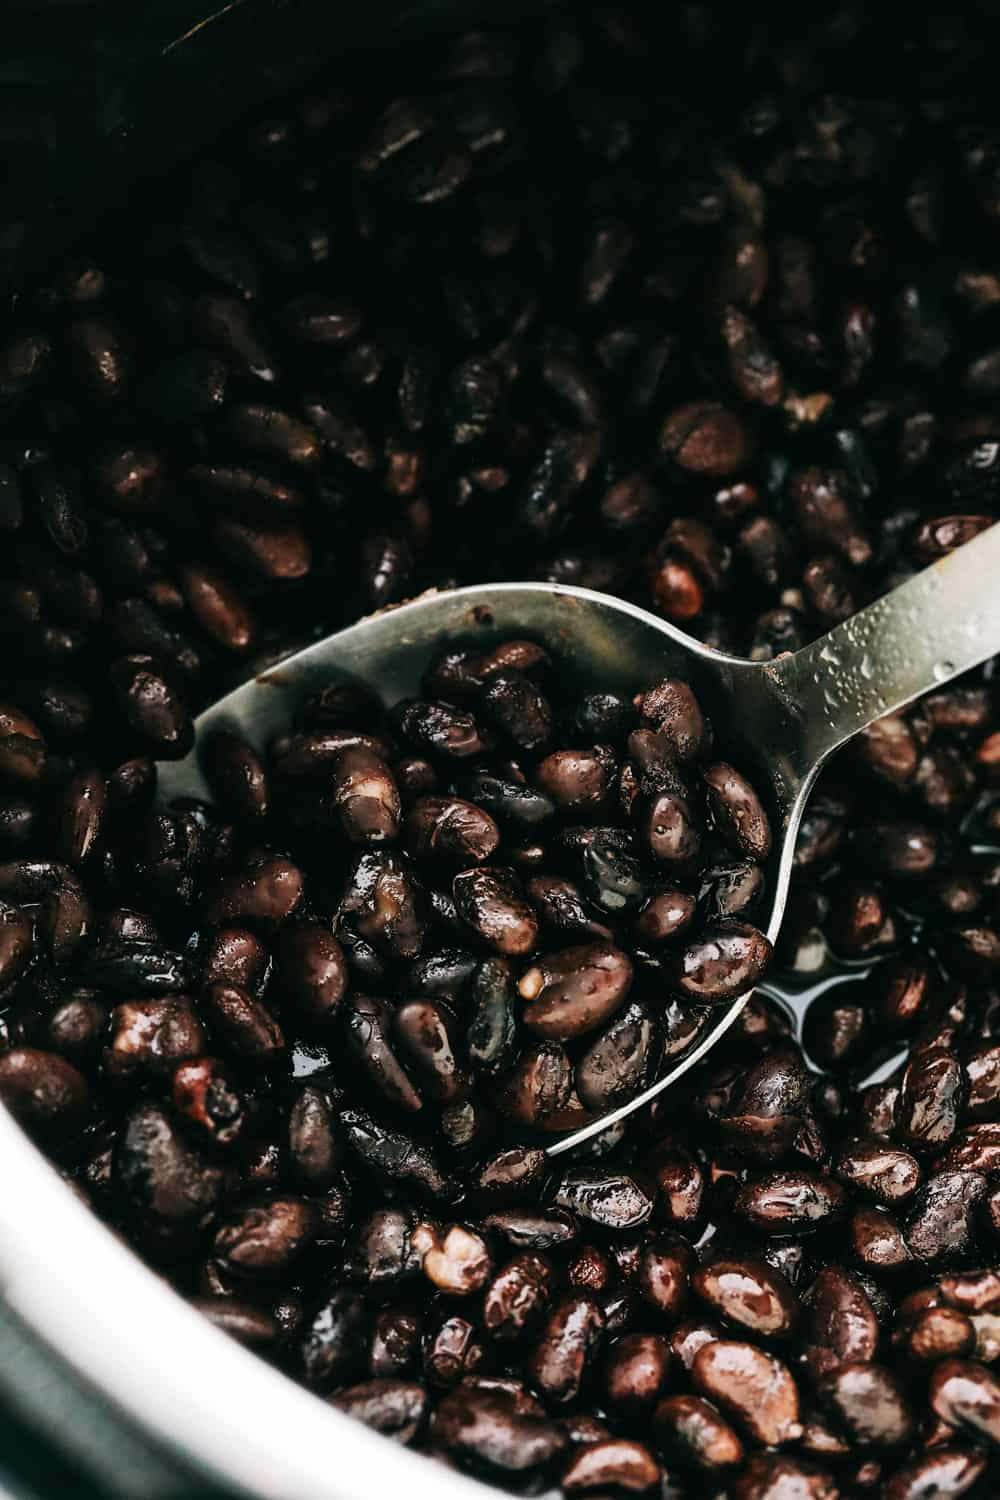
- Cook: Pressure cook on manual for 25 min. Let it naturally release for 15 min, then quick release the rest of the pressure. Stir and serve.
Good to Know Conversions
You will want to know this when you use your beans in a recipe that calls for canned beans.
- 1 pound dried beans = 2 cups dried beans = 5 cups cooked beans
- 1 (15-ounce) can = 1 ½ cups cooked beans
Why Make Your Own Beans
- Taste: Homemade beans offer far more flavor than canned beans and you can season them to your needs and taste
- Save Money: Dried beans are less expensive than canned beans, and everyone likes to save money. Dried beans also store longer than canned beans.
- Less waste: Because you make your own you will also have less waste, no cans to throw away or recycle.
- Easy: Because you use the Instant Pot, it’s hands off and super easy. No babysitting the pot!
- Nutrition: Last but not least they are good for you! Black beans are rich in fiber and plant-based protein, and a fantastic source of folate, thiamin (vitamin B1), phosphorus, manganese and magnesium.
Tips For The Perfect Instant Pot Black Beans
- Firmness: If you find that the beans are too hard or too soft you can adjust the firmness by adjusting your cooking time.
- Liquid: Use water, chicken, or beef broth instead of veggie if you desire
- To Spice or Not to Spice: If you don’t plan to use these in a specific recipe you can leave the seasonings out and use water to cook them in. You can also change up the spices to fit your ingredient needs.
How to Store Black Beans
- Fridge: Keep these ready to use in the fridge for 4-5 days.
- Freeze: Cool completely then store in freezer safe containers or bags in individual portions till ready to use. Thaw in the fridge, microwave or pot.
Recipes To Use These Perfect Beans
You can use these beans in so many recipes, here are just a few!
- Skinny Chipotle Black Bean and Turkey Enchiladas
- Stuffed Poblano Peppers
- Oven Baked Sheet Pan Nachos
- Easy Homemade Navajo Tacos
- Mouthwatering Cowboy Caviar

Instant Pot Black Beans
Ingredients
- 2 cups dry/raw black beans
- 3 cups vegetable stock or water
optional seasonings:
- 1/2 teaspoon salt
- 1 teaspoon garlic
- 1 teaspoon cumin
- 1/2 teaspoon paprika
- chopped cilantro
Instructions
-
In a colander rinse the beans. Add to your instant pot. Pour in vegetable broth and any optional seasonings. Cover and seal with the lid. Turn the steam release valve to the sealing position.
-
Turn on high pressure and cook for 25 minutes. Let the steam release naturally for 15 minutes. Quick release any remaining pressure and serve.
Nutrition
from The Recipe Critic https://ift.tt/36cRsOt
